Monday, January 31, 2011

ONE WORLD ONE HEART


What a lovely concept. Think about those words. They remind me of one of my all time favorite songs - Imagine, by John Lennon.
It was an inspired name that Lisa, of A Whimsical Bohemian, came up with for this worldwide blogging event she created, now in it's fifth and final year.
Welcome to all my visitors, old friends and new alike. My name is JoAnne and I live in upstate NY in the United States. I'm an avid collector, dabbler, decorator (my own home only) and lover of the arts.
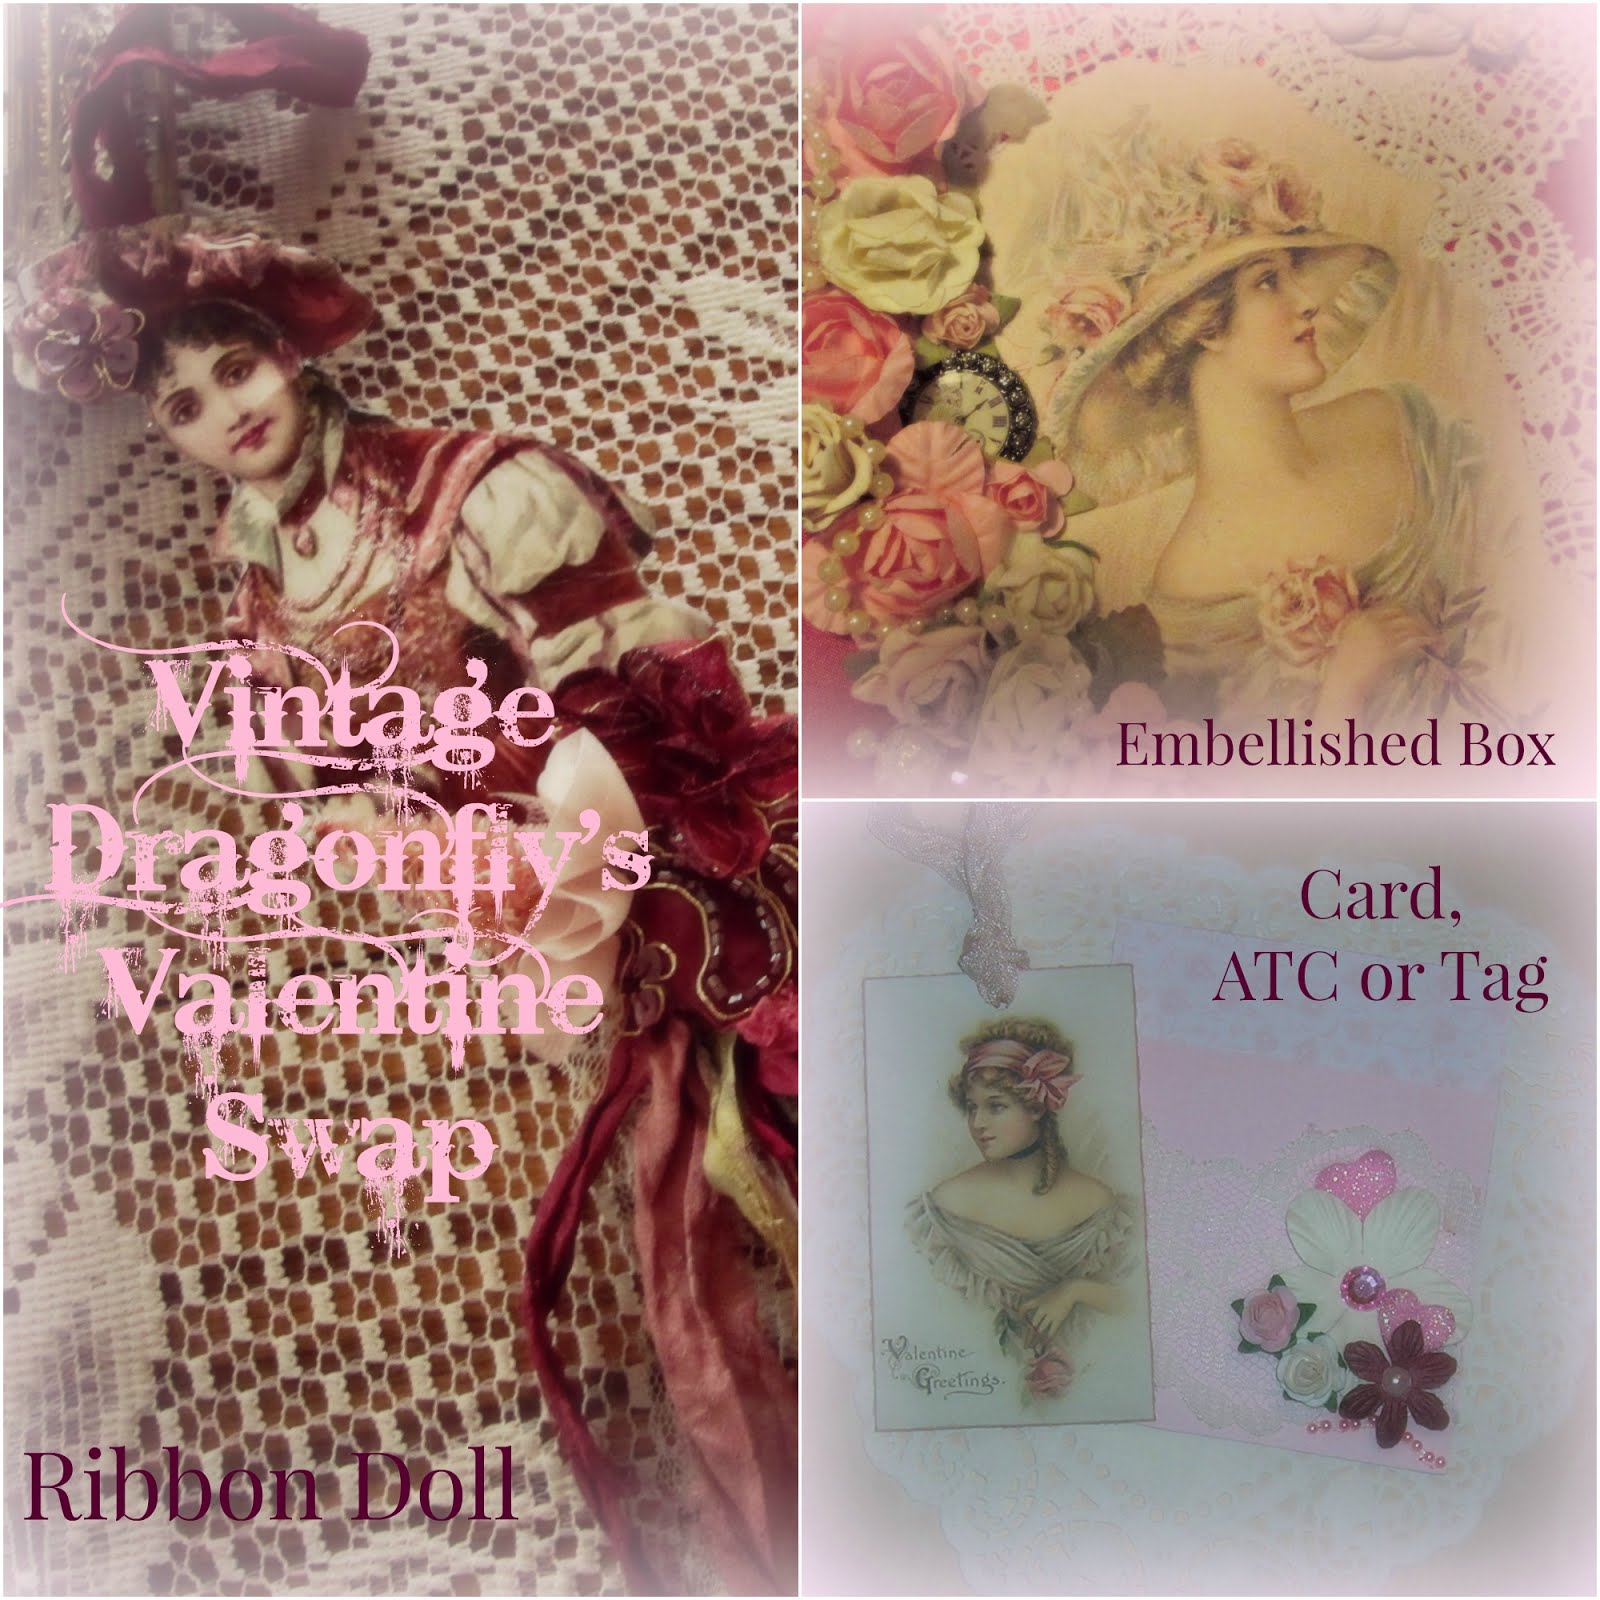
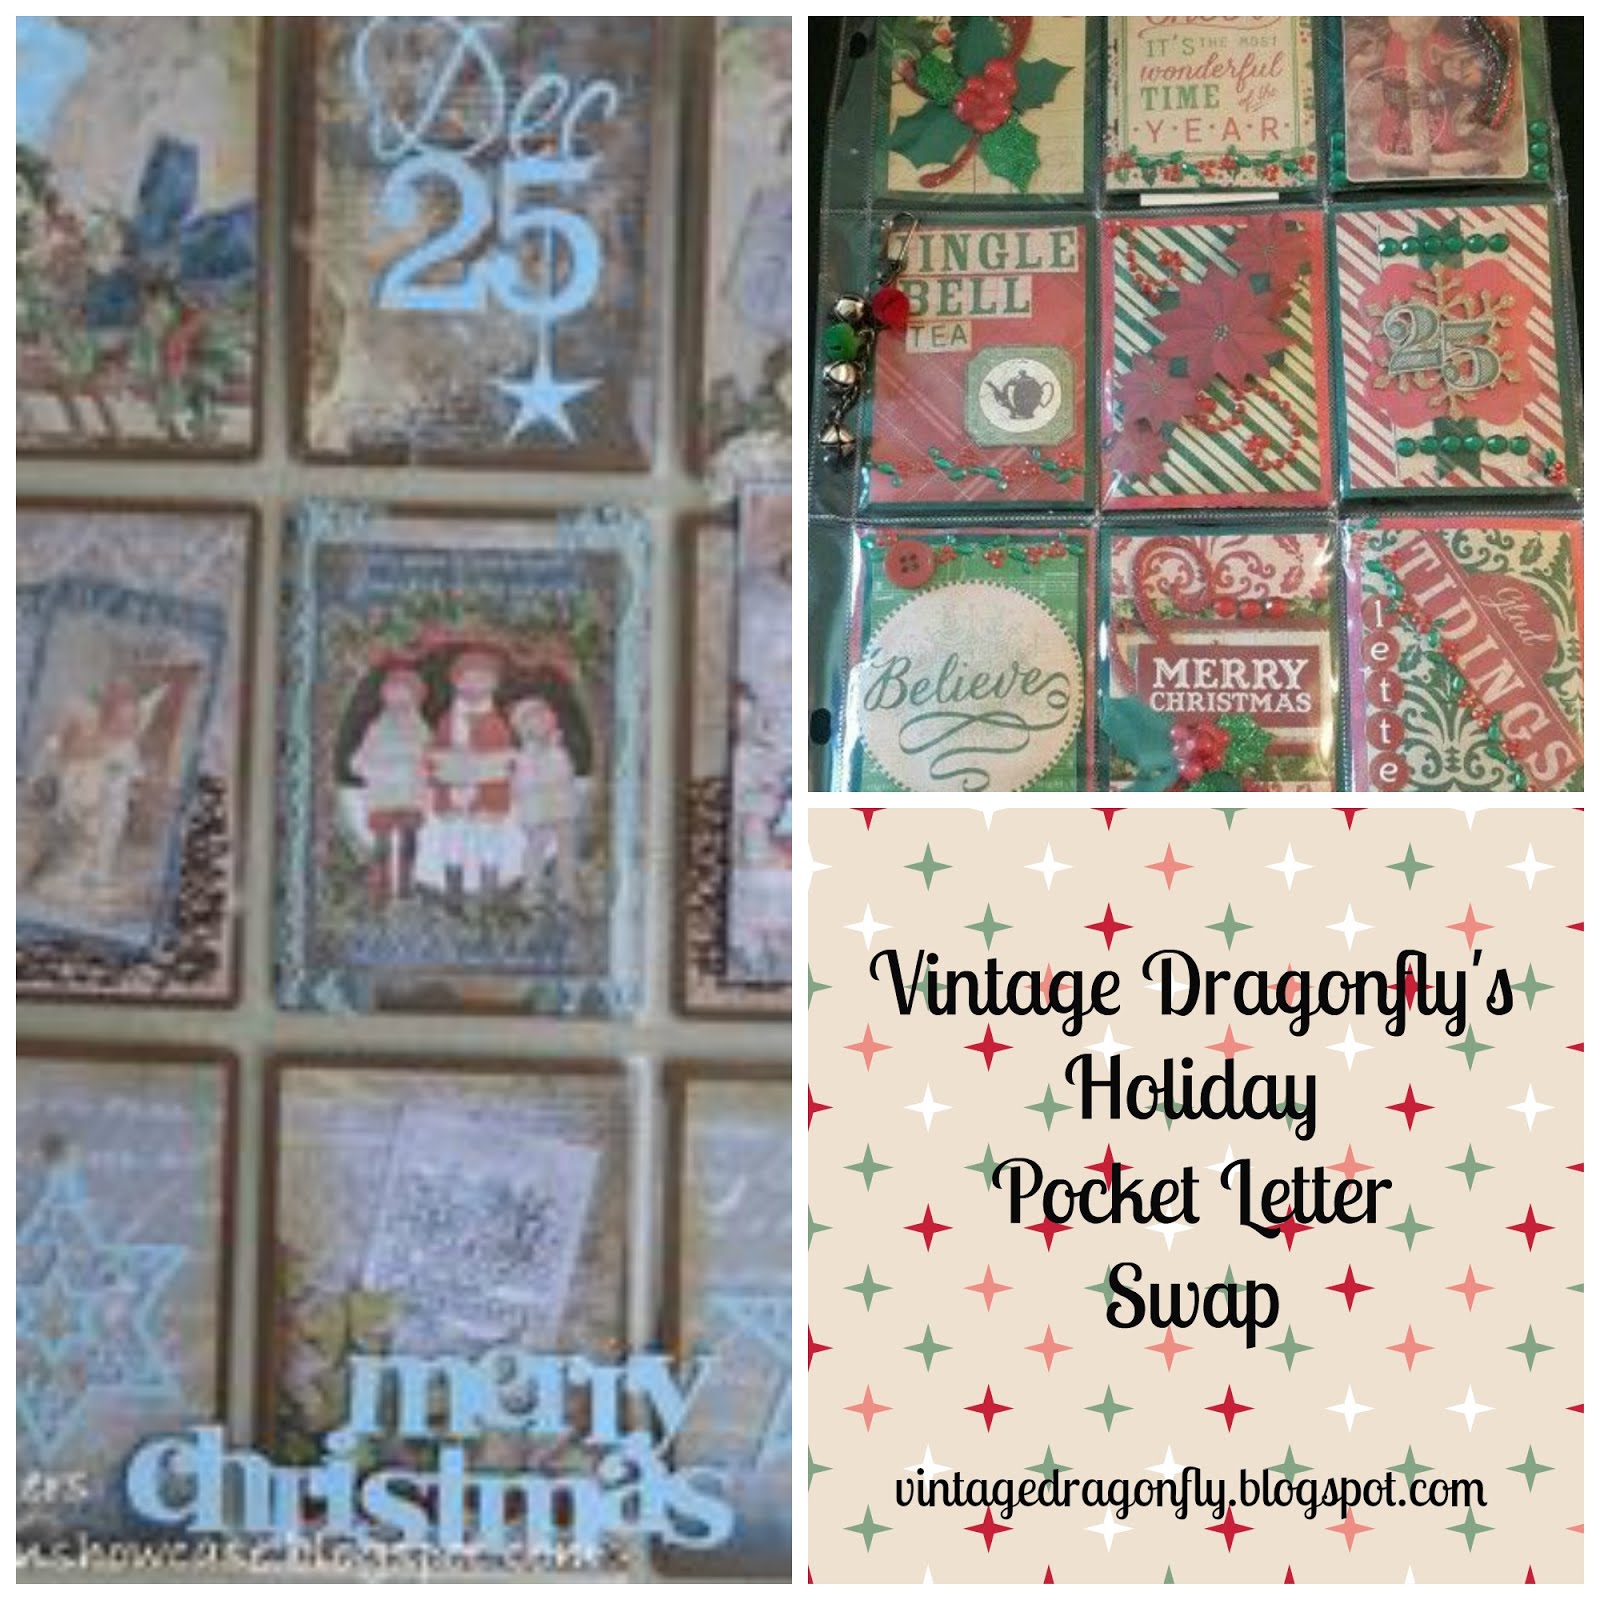
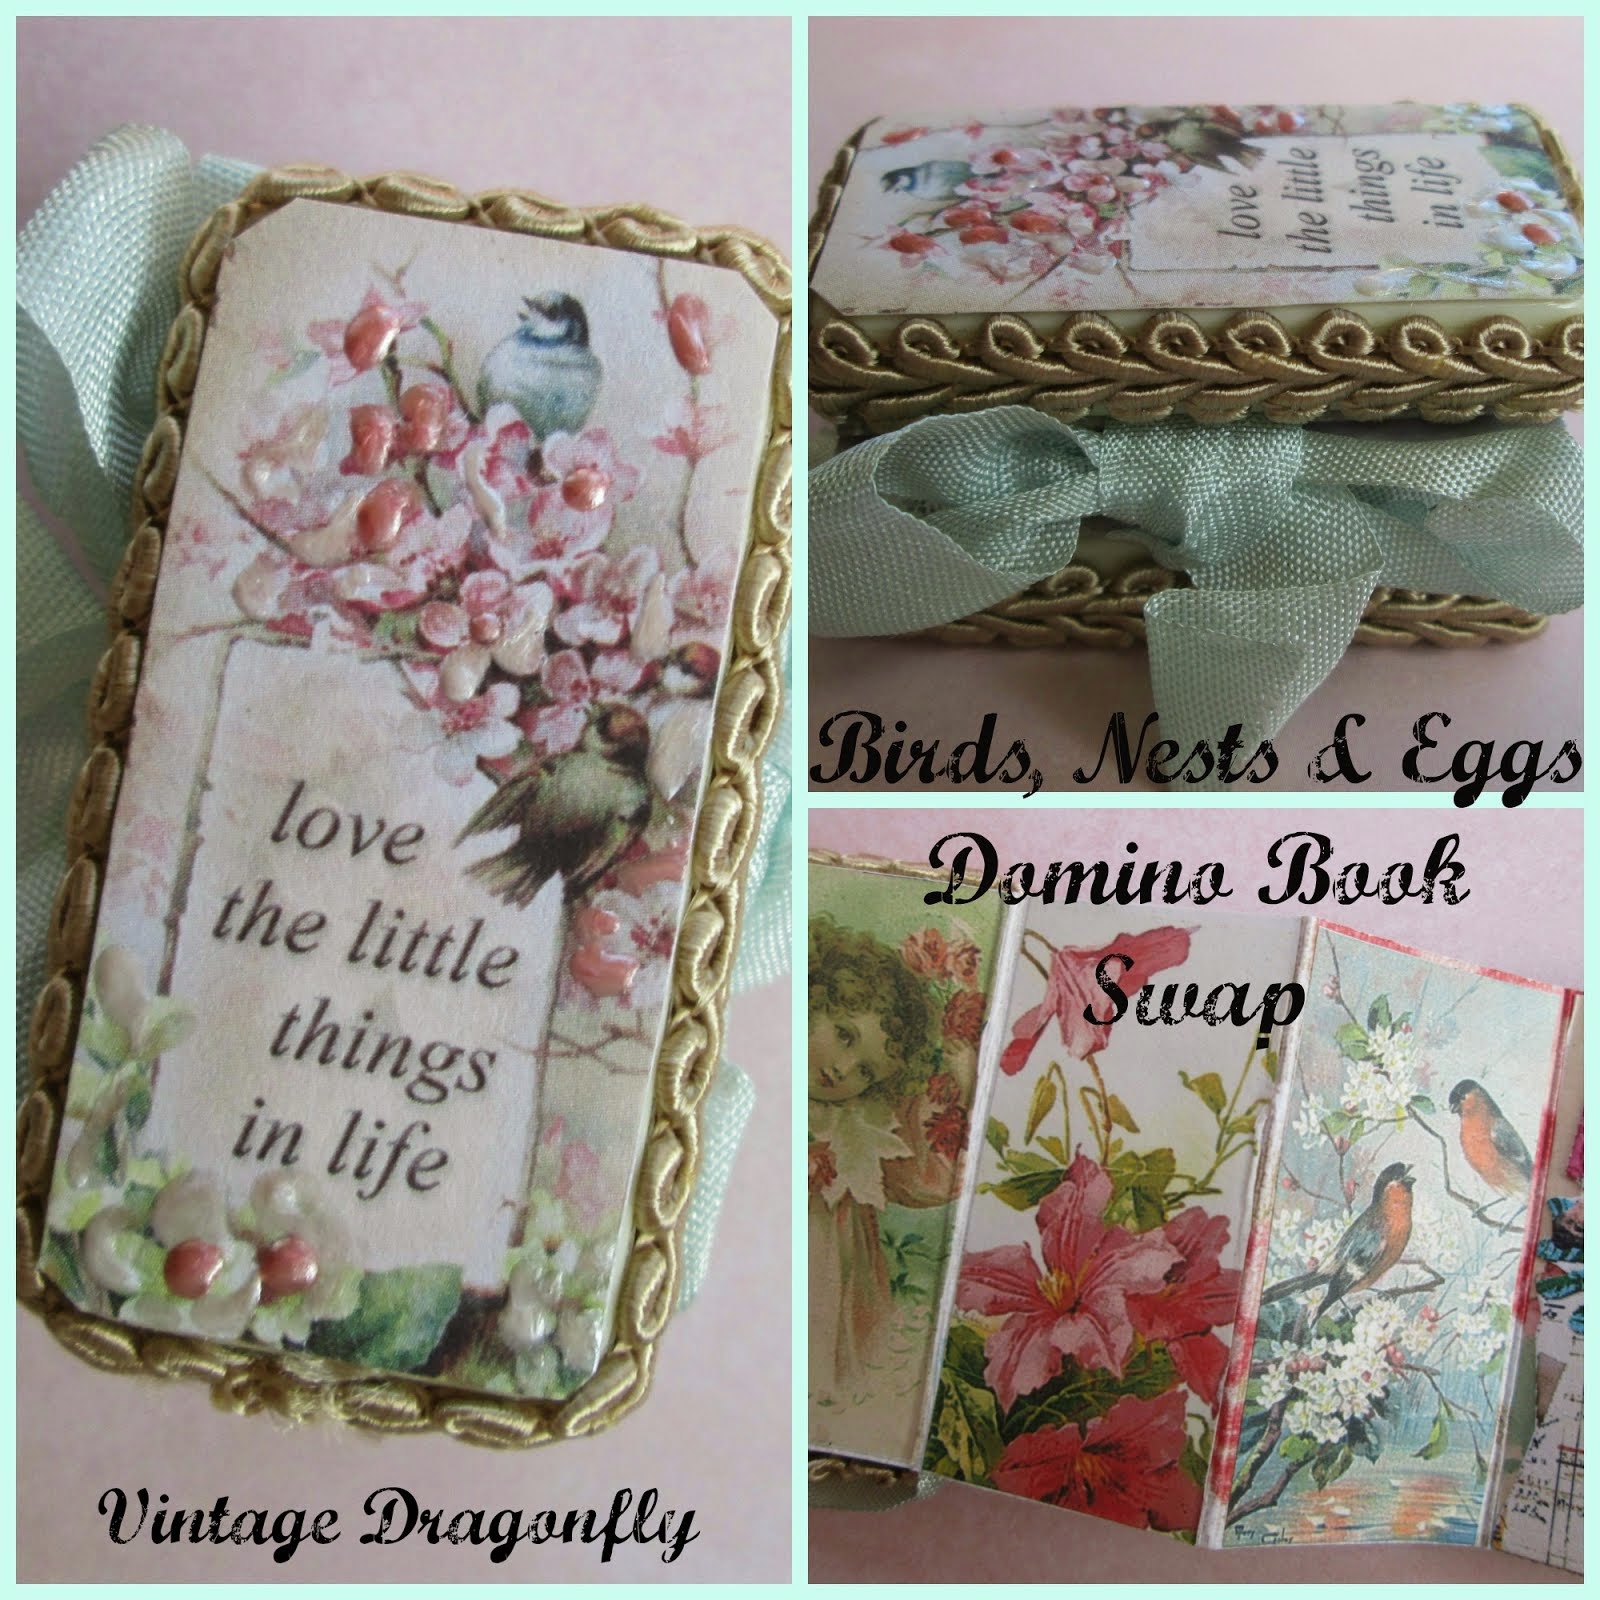
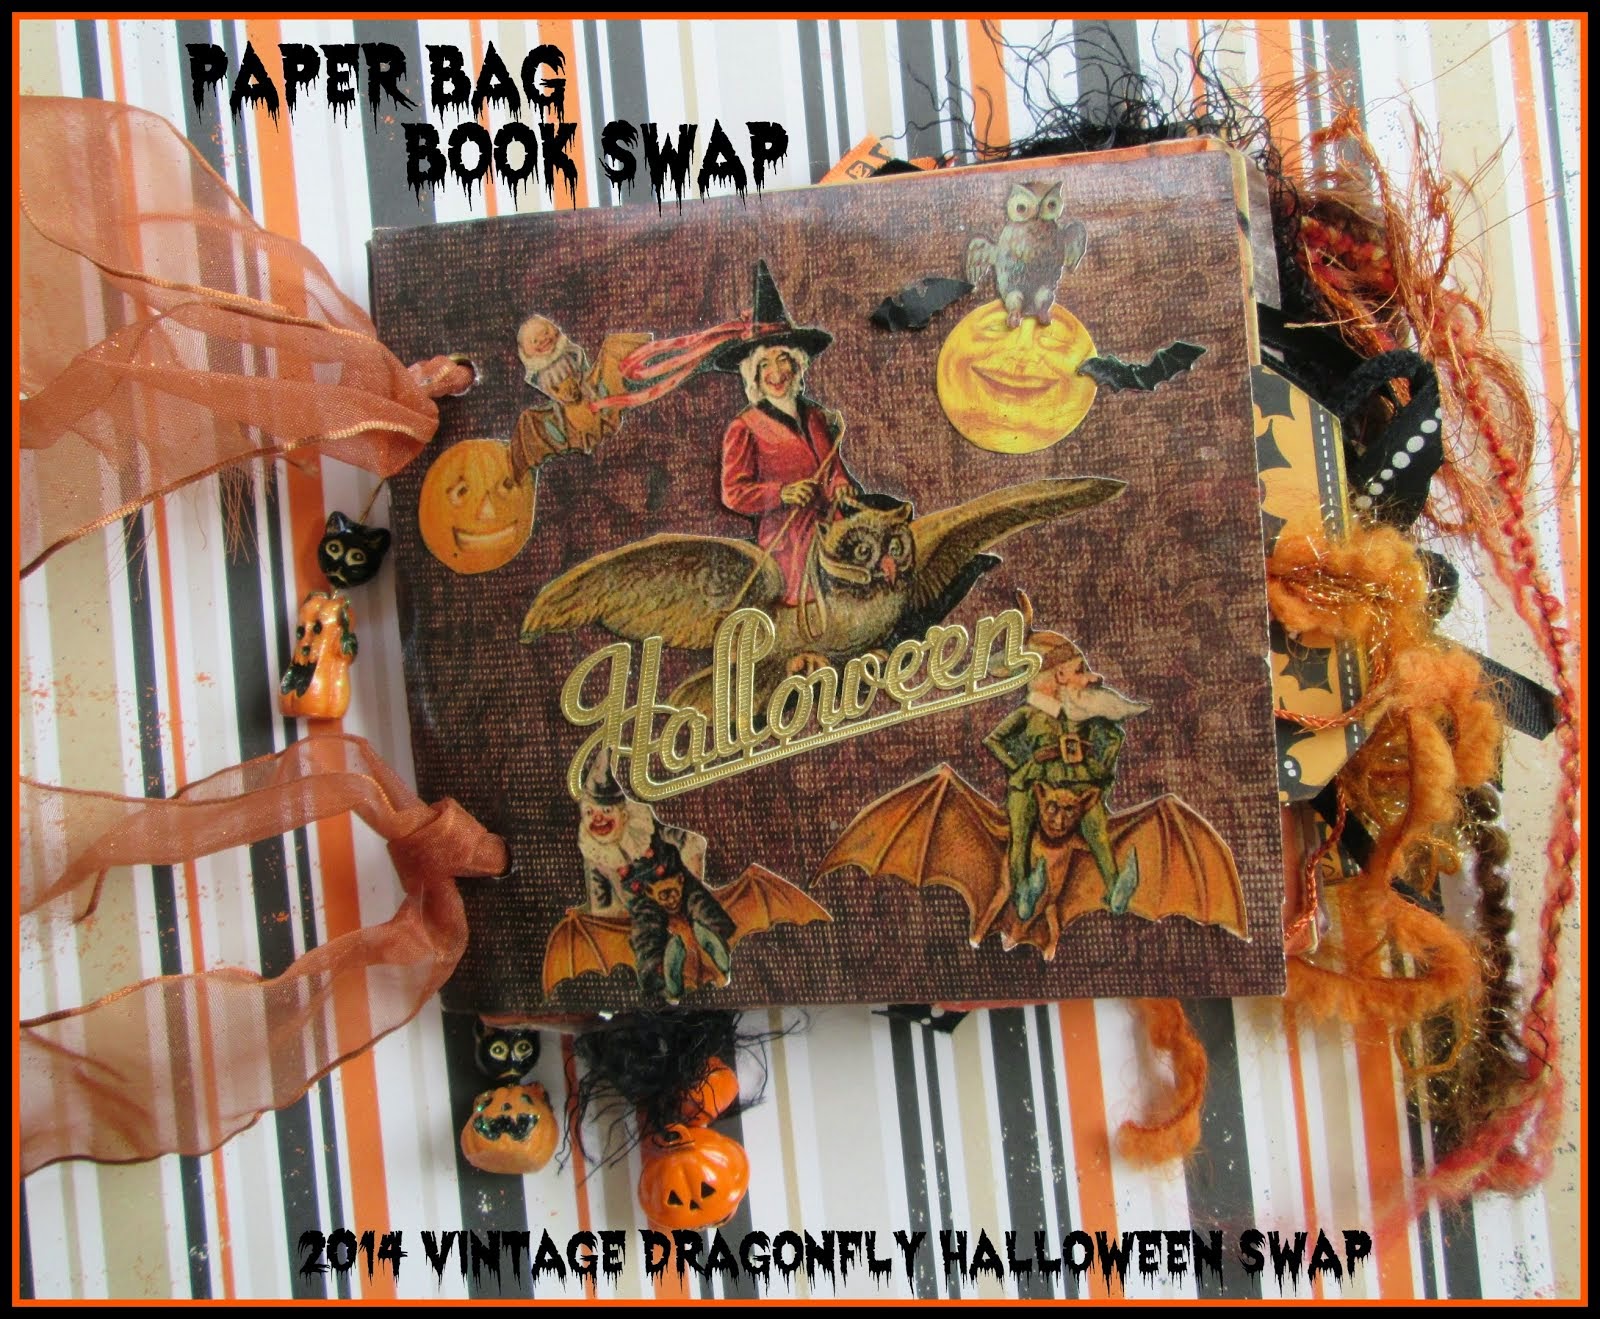
My blog features mostly things I make. Paper dolls, artist trading cards, collage, mixed media. I enjoy participating in collaboratives and swaps which are strewn throughout the blog. There are many Halloween and Christmas posts if you like seasonal art and decor. My archives are on the sidebar if you're interested in something in particular. If not, feel free to wander.
I also host Tutorial Tuesday, where I feature guest artist tutorials in any medium and any style.
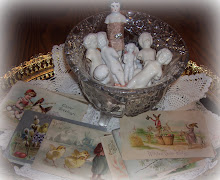
As a thank you for visiting I am giving away two pieces I made.this tea stained fabric embellished heart, and

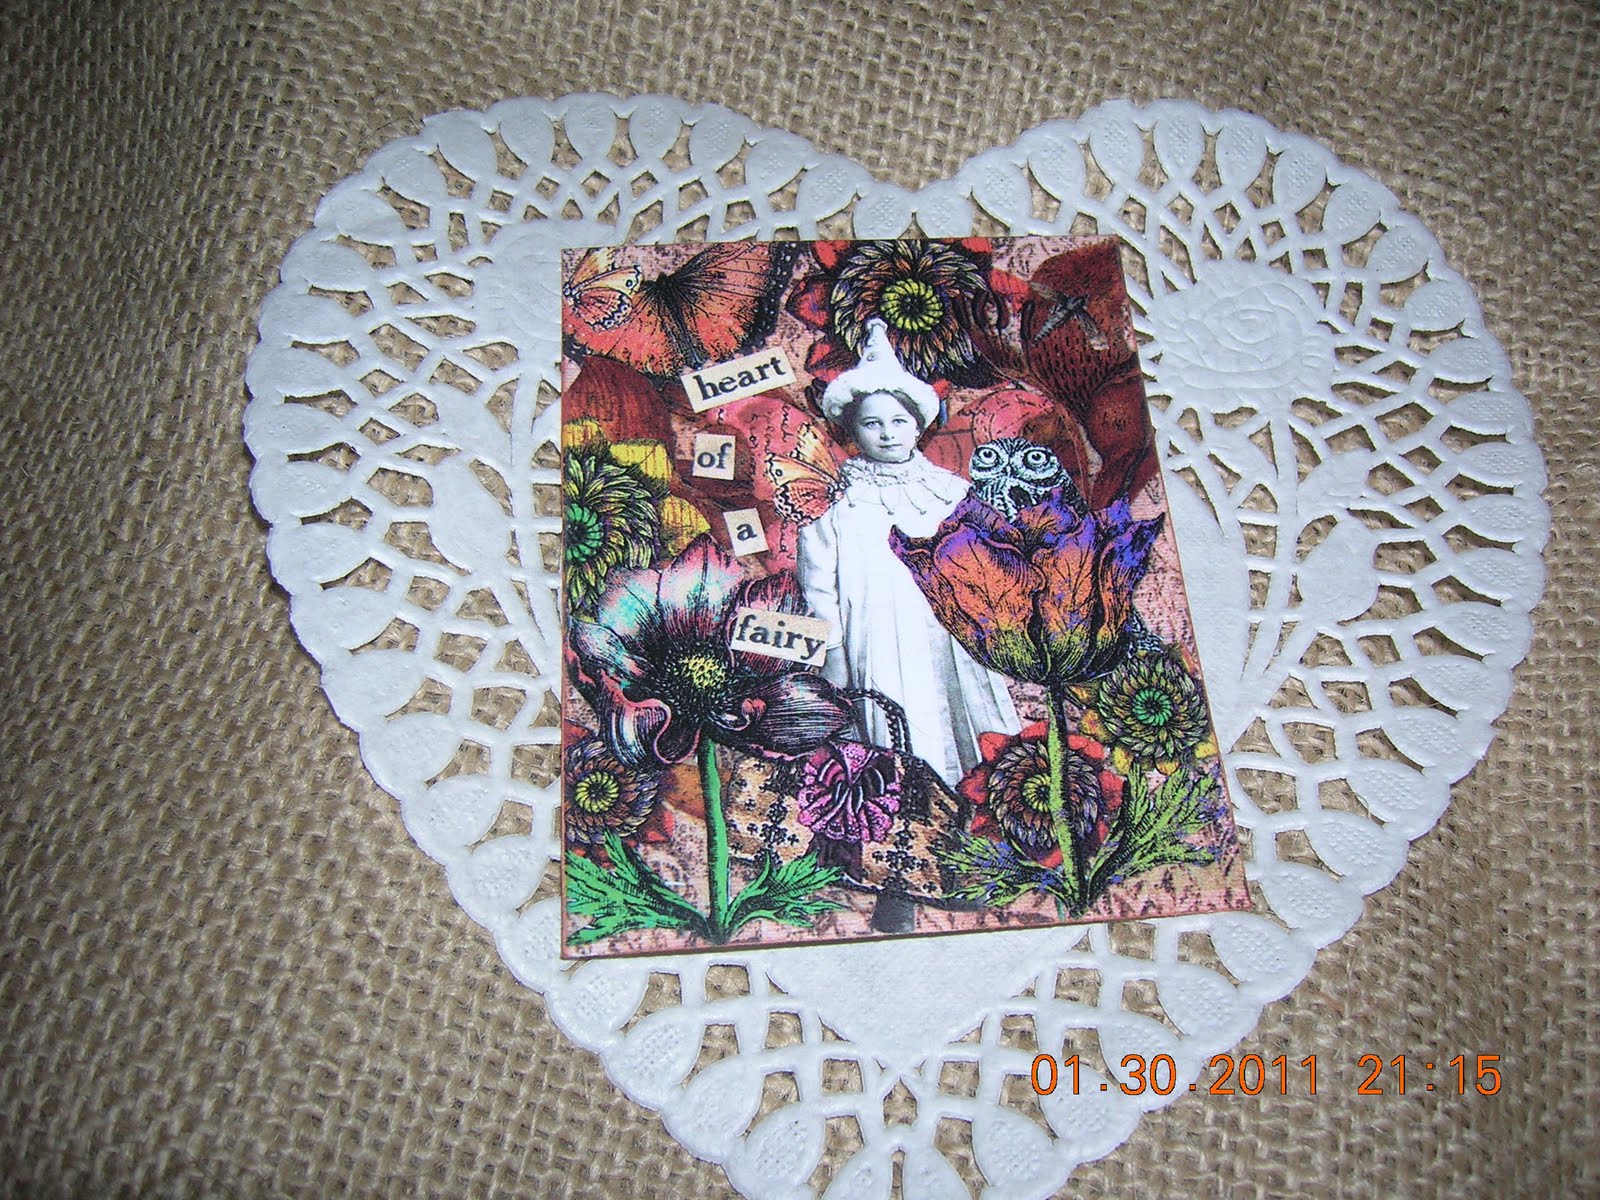
this mini mounted print of a paper collage piece, entitled
"Heart of a Fairy".

All you need to do to be entered is say hello or leave a comment after this post. The winners will be chosen via random.org and announced on February 17th.
I sincerely hope you enjoyed your visit to Vintage Dragonfly. Many thanks to Lisa, all the bloggers worldwide, and to you, my guest.
The links to all One World One Heart participants can be found at
A Whimsical Bohemian.
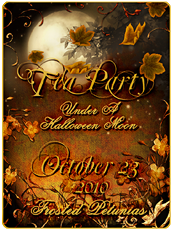
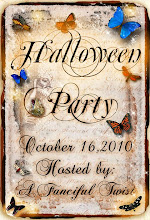
Enjoy the party!

Saturday, January 29, 2011

We Have A New Home!!!!

The Bloggerette Sorority, founded by Karen (thanks so much Karen!) of Some Days Are Diamonds, is an online sorority for women who like to share with other women. We share stories, crafts, our homes, swaps. And we inspire and support each other with whatever it is we choose to share.
Karen has passed the torch on to our new "house mom", Debi, who has given us a new (and quite beautiful) home with our very own blog.
I hope all my sorority sisters will stop by and welcome Debi. Be sure to grab our new button while you're there.
If you're not in the Bloggerette Sorority, why not? It's a great way to meet new friends and a great time to join. I hear some Valentine fun will be announced February 4th.....

Tuesday, January 25, 2011

A Valentine Tutorial & Giveaway

I feel a special kinship to today's featured artist, the wonderfully whimsical Wendy of Bliss Angels. Wendy is one of my very first blogging friends. We met as new bloggers, having started our journeys only days apart last March. She is a creative and versatile talent in addition to being a wonderful and supportive friend.
Today we're fortunate that she shares her heart (tutorial) with all of us.

Well hello and welcome to my Tuesday tutorial... Today I'm going to show you how to make this Valentine heart holder.....


You will need a 12 by 12 sheet of two sided scrapbooking paper, four 10 inch strips of crepe paper. I put pink and a lighter pink.. but you can use any colour that matches your scrapbooking paper. One paper flower~ a strip of ribbon to hang the holder and a small piece to decorate. A needle and cotton~bling ~decorative scissors~ hot glue gun~distressing ink pad and a stamp and lastly some tulle and a photo of a loved one.....


Okay, first fold the scrapbooking paper up, lay the pattern on the top so the tip of the bottom of the heart is over the fold line.


I'm using wavy scissors to cut the shape out...
Then using the sewing machine, sew the edges together.


You now have a pocket.

Now let's decorate the front.


Get the four strips of crepe paper and fold


cut the top into a petal shape,


Using the needle and thread, do a running stitch...

put up and make into a flower ...


now carefully separate the layers... take your time because you don't want to rip the crepe paper...


now you have a flower...


add the paper flower to the middle with some hot glue and add some bling. Put it aside.
Cut two heart shapes from the leftover paper...
I stamped a crown on one with the ink pad .... then rubbed the ink over the edges of the holder and the two hearts to give everything an aged look.


and glue one of the heart shapes to the back of the holder ... you want the back to look as pretty as the front. Turn over and hot glue the other heart to the front of the holder.


Cut the small piece of ribbon with the scissors into a swallow tail


Take a square of tulle and glue that down on the heart, then the ribbon, then add the flower....


Punch a hole at the top of the holder and add a pretty ribbon.....


and lastly tuck a piece of tulle into the pocket and add the photo of your loved one....

and cut the ends for the ribbon in to swallow tails and hang for all to see and enjoy. Thank you to JoAnne for hosting Tutorial Tuesday. Hugs, Wendy
Stop by Bliss Angels


and enter Wendy's Valentine Giveaway!
And thank her for this awesome tutorial while you're there!

Do you have a project or technique you'd like to share? It's easy, and fun-and the info is HERE.
There are still some spots open for the Thinking Spring Tag Swap. Email me via sidebar link to sign up!

Sunday, January 23, 2011

Thinking Spring Tag Book Swap

As you can probably assume from my blog makeover, I'm saying goodbye to snowflakes. Well, not in my real life. I'm painfully aware the snow and cold will be with me for a while, but I'm thinking spring.
Let's start creating spring too. Even if you've never altered a tag in your life or participated in a collaborative project, I welcome and encourage you to join the I'll provide links to inspirational sites, images you can use, even links to products.
Here's what you need to do:
1. Grab the button to display on your blog to show you're participating.
2. Email me to sign up, via the email link in my sidebar. Please put "Tag Book" in the subject line. Provide me with your name, email address, blog url and mailing address. I will confirm I've added you and provide you with my shipping address.
3. Make 10 tags. Use Avery manila shipping tags with reinforced hole, size 4&3/4" x 2&3/8" (available at most office supply stores, Office Max sells box of 100 for $5.29) or make your own tags approximately the same size.
4. Mail tags to me no later than March 5th. Include a return label and $6 US, $7 Canadian, $8 International, for postage, packaging and supplies.
I'll be making the covers, assembling and binding the books. Depending on the number of participants, you may get your own tag back in your book.
PLEASE only sign up if you can commit as participation is limited.
THE DETAILS
Orientation - landscape or portrait
Subject Matter - anything that says "spring" to you. Birds, new birth, awakening, flowers, Easter, fairies and pixies-totally your interpretation.
Style - Again, your choice. Vintage, whimsical, realistic-anything.
Medium - You guessed it, anything goes. Collage, fabric, stamped, hand drawn, digital, painted.....
Back of tag - please don't leave blank. It doesn't need to be as elaborate as front but should have some appeal. Please sign the back and include your blog url or email address if you like.
Embellish, embellish, embellish!!!!!! Chunky is good. Use chipboard, flowers, charms, glitter, fibers, ribbon, bling, lace. Please DO NOT use the tag hole for ribbons, charms or any embellishments. I will be using the hole to bind.
Tags may be the all the same or different.
This is a tag book I participated in a couple years ago. A little jump start to get your brain thinking tags
VARIETY is what makes these books fun, as well as wonderful keepsakes. Hope you'll be "thinking spring" with me!

Tuesday, January 18, 2011

It's Tuesday! Time for Another Tutorial!

Sherry is a friend I came to know over the holidays while participating in the Countdown to Christmas Matchbox Swap at A Swap for All Seasons. Her blog, Sherry's Simple Blog, is anything but simple. It's LOADED with one amazing mixed media project after another. She recently introduced me to an altered matchbox flickr group that I can't wait to swap in. (Scroll down a few posts when you visit. She has a couple of very special boxes featured in recent posts.) But I digress...
I was so excited when Sherry offered a tutorial and even more excited when I saw what it was. I've been dying to try fabric collage-even gifted myself with an inexpensive Singer this past Christmas so I could give it a whirl (have never sewed in my life). Now here's the inspiration, and instruction I need. I'm pleased to share with you,
Sherry's Fabric Collage Tutorial
Start off with the cross stitched cottage
Cut a rectangle of cotton for the baseand re-inforce it with something sturdy - I had this roll of strong hessian type stuff which was ideal.
Machine stitch the hessian strips onto the cotton base (sorry the photos are a bit dark)


I machine stitched up and down each row and top and bottom, this is what the back looked like when I'd finished.
Stitch a narrow edging of lace around all four sides

At this point I machine stitched a handwritten label on the back

That's the base done, now to start decorating the top.
I decided to use some paper - sheet music and aged it around the edges with Distress Ink.
The next stage is the most time consuming, but also the most fun - sorting out what layers to use. I laid the various lace and fabrics onto the base before stitching anything down to get a rough idea of what it'd look like.
When happy with it, start stitching!
I coloured a bright white lace flower from a curtain edging (thanks Mum!) with Distress Inks so it blended in better.
I also added a few beads to the cross stitching, a vintage button for the centre of the flower, some hanging beads at the bottom and a horseshoe for good luck at the top right hand corner.
I gave it a simple hanger of twine (braided three lengths together and knotted them at the back).
Here's what the finished back looks like.

I attached rusty keys to the first two fabric collages

Beautiful, aren't they? And these are Sherry's first fabric collages ever!!!!!
Many thanks to Sherry for being this weeks guest artist. If you have some technique, craft, project, anything you'd like to share, click HERE to learn how.
I can give you a hint about next Tuesdays tutorial-think Valentines.