Sunday, June 26, 2011

A Wonderfully Whimsical Village

A few weeks ago I shared a little house I made for a swap in our
Paper Whimsy group. I now have my entire village to share with you.

From left to right: my house, Jan's (A Journey..), Kim's (Tabby's Place) and Christine's.
Even the "back doors" are sweet. I'm going to get mini hinges so I can display it standing like a village of rowhouses.

It's always such a pleasure swapping with my talented PW friends! So much so that I couldn't resist joining in on the next swap...
How much fun is this? The ideas are already swirling in my head.

Sunday, June 19, 2011

I Promised BIG and Old

But first allow me to share a couple of the matchboxes swapped in our just completed Treasures of the Sea Swap.
Jen of On A Journey.... created this stunning mermaid's treasure chest for her lucky partner

And Kim of Tabby's Place spoiled her partner with this beautifully detailed under the sea delight.
To think that these were once matchboxes!!!!

Now on to the big and old new swap announcement. In the first two swaps in our flickr group we altered the small 20 count matchboxes but this time around we're going to go big with 250 count boxes to create something old, antique, vintage and collectible, for

Think of all the great finds in Grandma's Attic! Her old sewing box full of spools, ric rac and buttons galore. Old photos, vintage cards, all sorts of ephemera. Remember this old wallpaper from the dining room? Boxes of lace and trims. And look at the jewelry. She must have saved every piece from the time she was a child! And here's an entire box of old games and toys.
You get the picture. The outside of the box should be decorated in keeping with the vintage theme and the inside stuffed full of vintage and vintage inspired items. Further details HERE in the flickr group.
All in US & Cananda (and it looks like our Canadian friends may have to sit this one out with their postal strike) are welcome to join and swap!
Enjoy your Sunday and hope to be swapping with you soon...

Tuesday, June 7, 2011

I'm Back, and Just in Time for a Tutorial!

I've just returned from a wonderful vacation filled with warm ocean breezes, soothing sunshine, great shopping, and an all round fabulously fun and relaxing time with my daughter. We stayed oceanfront at Myrtle Beach and thoroughly enjoyed the area and all it had to offer.

And how sweet to return to a kinder and cooperative blogger! Before leaving I was unable to leave comments on all of your blogs but after a few quick visits already today, things seem to be working just fine.

And it's the first Tuesday (aka Tutorial Tuesday) in June and the lovely and talented Jan of
Paper Craft Pleasures
is sharing her Altered Bottle and Beeswax Seal Tutorial.

Step 1
Select a clear bottle and paint with Cowboy Glimmer Glaze. Let dry.

Step 2
Stamp image onto cardstock.

Step 3
Apply Clear Crackle to bottle and let dry.

Step 4
Add a pearl bead to a straight pin and insert into the center of the cork.

Step 5
Melt beeswax.

Step 6
Insert the top of the bottle into the melted beeswax.

A huge thanks to Jan for sharing this awesome tutorial! Do you have a fun summertime project you could show us how to make? It can be ANYTHING, really, ANYTHING at all! Let me know and I'll feature you as July's artist of the month.

Time for me to start all that vacation laundry......

Wednesday, June 1, 2011

A REAL Treasure

The swapping has commenced in our flickr Altered Matchboxes Swap Group and I found treasure, or I should say treasure found me, courtesy of my swap partner Anna.
I've long admired Anna's art on her blog, Frosted Petunias.
She has a style all her own. It's sheer beauty mixed with a touch of whimsy, a sprinkle of fantasy and meticulous attention to detail.
See what I mean? This is how she transformed a tiny matchbox in our Treasures of the Sea swap.

I opened the box to find this amazing 3-D vignette. (It's really impossible to capture how stunning this piece really is!)
And being the sweetie she is, she included this beautiful card and bookmark.
Swapping will be complete mid-June for Treasures of the Sea so I'll be showing off some of the other participants creations in the next couple of weeks and announcing a new swap!
Hint-think BIG for the upcoming swap. Let's make that BIG & old.....


PS - I'm still unable to leave comments on blogs!!!!! I miss leaving you congrats, entering your giveaways and just saying hi. Can't wait until blogger resolves this.

Saturday, May 28, 2011

Houses a la Whimsy

In our Paper Whimsy group we are making and swapping houses in various color palettes. I opted for the neutrals...We're in groups of four and each of us chose one of four templates so the houses are different shapes. When the swap is complete we'll have a lovely little village. Of course I'll share my village with you!
The back of my houses...
I am one of the unfortunate bloggers with the inability to leave comments on others blogs. (I certainly hope this issue is resolved soon.) In the meantime, know that I'm still visiting, oohing and aahhing all the way.
Wishing you a happy and safe Memorial Day. Please take a moment or two to thank a veteran or a veteran's family.

Saturday, May 21, 2011

Let the Swapping Begin!

The partners have been announced and the swapping will soon commence in my flickr Altered Matchbox Swap Group.
Our theme this time round is Treasures of the Sea. Using one of the small 32 count matchboxes, the challenge was to decorate a sea-themed box and either stuff it full of sea-themed goodies or create a vignette or shrine interior.I decoupaged layers of torn tissue paper in shades of blue and green for the base of the box, then added fibers, micro beads, glitter, a real starfish, glass baubles and a copper seahorse charm. The drawer pull is a vintage starfish button that I found at an estate sale.
I opted tor a vignette and designed the interior similarly adding some little seashells I collected on the beach in Key West.
I thought this was the perfect habitat for the removable teeny tiny mermaid doll I made. Like any respectable mermaid, she carries an iridescent sceptor and travels with her seahorse pal.
Treasures of the Sea is closed but a new swap will be announced on my blog sometime in June. Everyone in the US and Canada (sorry, purely economic) is welcome to join in on any swap. It's a great creative outlet, you're guaranteed to make new friends and you will collect some beautiful little pieces of art!
I'll be sure to share other members Treasures of the Sea creations in upcoming posts. Wishing you all a wonderful weekend.....

Sunday, May 15, 2011

Love Birds? Tag Art? Swapping?

Then you must visit Karla's Cottage and be part of what's certain to be an amazing project!
Hope you're all enjoying the weekend!

Friday, May 6, 2011

Featured Things With Wings Artists & Some Spring Inspiration

Altering matchboxes in different themes is such a fun challenge that I recently started a flickr group to host swaps. Many of the participants upload photos of their creations to the group. I thought it would be nice to feature a couple from each swap here on my blog.
Our Things With Wings challenge was to create a box and fill it with goodies all related to anything winged.
Lorraine, of Over The Rainbeau created this sweet box

and Les, of Harmony Road Studio thrilled her partner with this beauty.

Our current swap is Treasures of the Sea. Participants can either fill their boxes with tiny sea treasures or create a vignette inside the box. Sign-ups for this swap are through May 15th. If you'd like to join us, the link to the flickr group is at the top of the sidebar.

In Heather's (Speckled Egg) Spring Inspiration Swap we exchanged the larger matchboxes.
From Samantha....


And from Jeannie of I Craft....


For my wonderful swap partners...


Wishing you all a happy and blessed Mother's Day!


I'm linked with Pink Saturday at How Sweet The Sound.

Tuesday, May 3, 2011

Pop In for a Pop Up Card

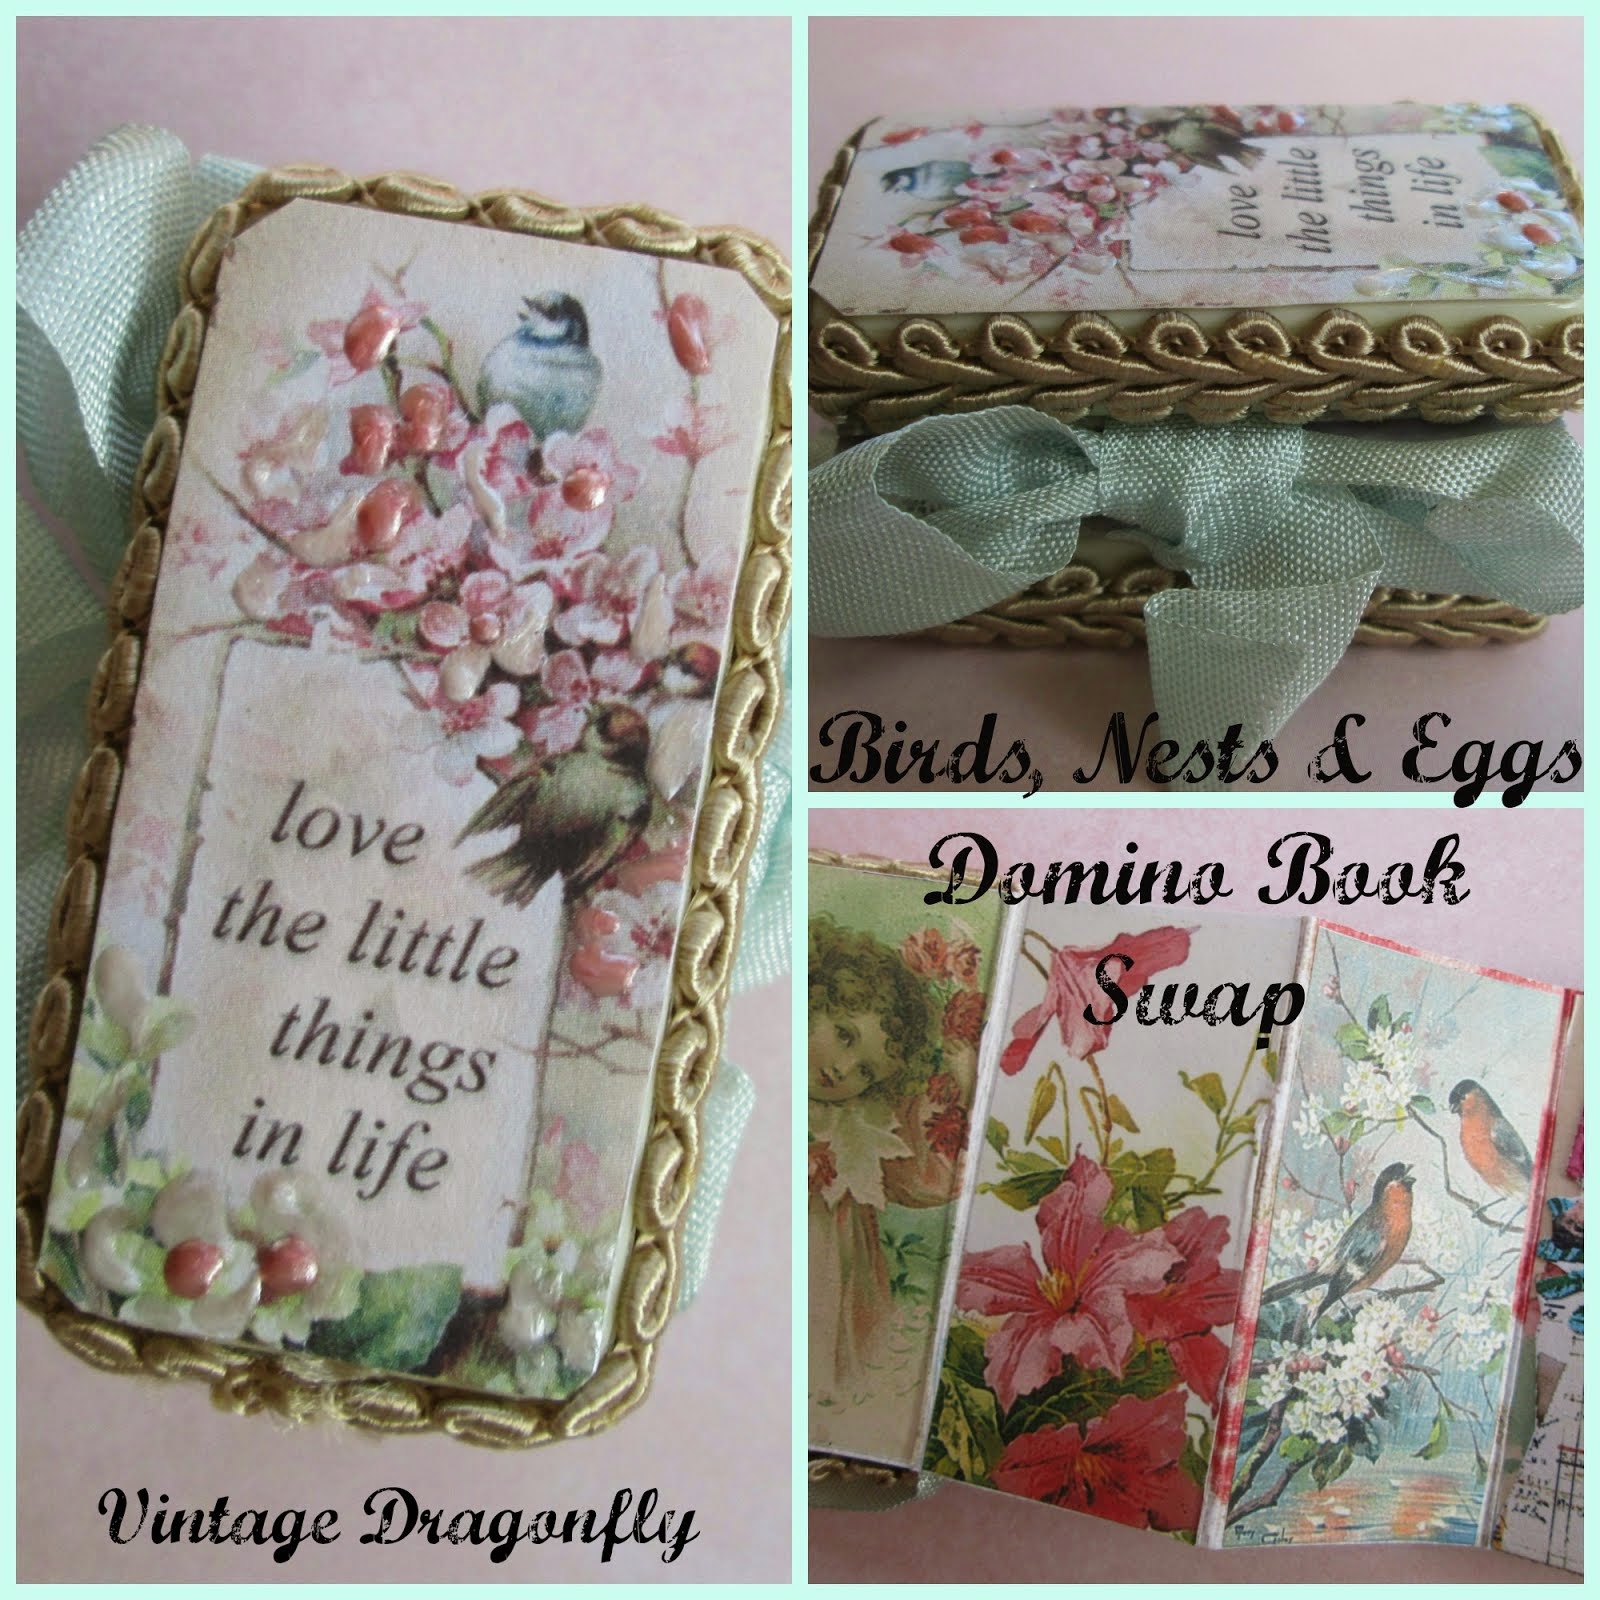
The merry month of May....time for graduations, weddings, Mother's Day. The month of giving greeting cards and a perfect time to spotlight a talented cardmaking artist!
Diane of 1 Card Creator is sharing a Pop Up Card tutorial for May's edition of Tutorial Tuesday.
You can use any image you want, I used Websters digital papers, that made it easy to print the hot air balloons in various sizes. You can use any object as long as you can print or stamp it in various sizes. I first put the outside of the card together and set it aside. You will be working with 2 cards, an inside and an outside card.If you have a scoring board, score 3 lines on the inside card 1 at center and then 3/4" to the left and 3/4" right of center.Without a scoring board, fold your card in half, measure 3/4" from the fold and draw a line with a ruler, turn it over and do the same on the other side.I then use a Word Window punch (Stampin Up) to cut 2 slots in the folded edge using the score or pencil line to keep them even. The punch can be positioned as deep as it will go or if scissor cutting measure 1 1/2" from top and bottom respectively. (This is a 5 x 7 card but the same measurements work for any size card.)Score the line between the 2 slots on both sides so you can fold it inside.
At this point you want to dry fit your outer and inner card together making sure there is no overhang, the inner card needs to be slightly smaller.Then tape the 2 cards together. If you look closely you will see where I used the tape, I tape it together 1 side at a time.I took this picture after I had placed a few on the card already, I can't give you an amount to cut, I always end up with left overs.The first few objects are your anchors, they should be the largest because they will have to hold a lot of weight, they are placed on the pop up fold and need to be folded like this. I use ultra strength Zots to attach these to the pop up fold.From these anchors you can just keep on building out, attaching one more up or down, behind or in front of, let your creative eye take over here. You can attach these with Zots or strong dimensional foam making sure that the sticky stays in contact with only the 2 pieces you are attaching. (otherwise your card will stick together when it's closed) Also make sure the card will close without anything sticking out.I will have some of my older pop up cards on my blog today so you can get an idea of what objects can be used.

I hope you'll visit Diane and browse through her blog of wonderful cards and other paper delights. She truly is the #1 card creator! And she did an outstanding job with this tutorial. Pop up cards seemed like they would be insanely complicated to make, but Diane really took the mystery out of the process.
I also hope you're enjoying the diverse array of tutorials and new artists featured here. If you have something to share, I'd love to feature you on an upcoming Tutorial Tuesday!

Thursday, April 28, 2011

Spring Friends Collage

I'd like to share this collaged postcard I made for Dawn in our Paper Whimsy group. The theme is Spring Friends.
This is Emma. She loves Spring. An only child, she enjoys swinging in the garden and visiting with friends, real and imaginary....

Emma's dress is embellished with antique lace and tiny beads. Images are Paper Whimsy and Land of Enchantment.

Monday, April 25, 2011

A Blissfully Wand-erful Swap

Wendy, of Bliss Angels, hosted a Spring Wand Swap that provided a bit of spring fun and magic for all of us lucky fairy girls. After receiving our fairy names (you can find your own at The Original Fairy Name Generator site) the wand making commenced.
My fairy friend was Gossamer Corndancer, aka, Amy of
Ruby Moon Art.
Isn't this a wonderful piece of creative whimsy? A wooden spoon all decked out in buttons, satin ribbons, ruffled crepe, lace and a sprinkle of glitter.
I, Bindweed Rainbowfilter, in turn wanted to make a wand fit for a Spring Fairy Queen.
Using a chopstick that I gold-leafed, I attached some white feathered wings and an embellished frozen charlotte wearing a jeweled crown. Hanging as the backdrop was shabby, sheer ribbon adorned with topaz crystals and strands of chunky gold stones. The wand top was finished with a transparent berry bead and pearl stickpin.

Thanks Wendy, or should I say Petal Elfweb, for a magical and most unique swap experience!

Friday, April 15, 2011

Friday Easter Bunny Freebie

This working full-time stuff is really cutting into my creating and blogging time! Just wanted to pop in and wish you all a happy weekend and share another sweet vintage Easter image...

Saturday, April 9, 2011

New Reveals & New Swap Announcement

There are some really great altered matchboxes being posted in my new flickr swap group. You can visit by clicking on the sidebar image, announcing the next swap, Treasures of the Sea.Imagine the possibilities!!!
This group is open to all US and Canadian swappers (sorry, it's a cost of postage barrier). Join us and give it a try. They're small, fun and very addictive!

The super talented Lynn, of
Trash to Treasure Art,
was my more than generous partner in our current Things With Wings swap.Isn't that a stunning box? I can't believe the amount of goodies she managed to cram in there. And the tag and butterfly were unexpected extra-special gifts!

Jeanie, of All My Art was the winner of my blogiversary giveaway and I can now reveal what she won. This is one of the large matchboxes that I covered in burlap. It's kind of an interesting display. I didn't know where it was going when I started but it kind of came together nicely. Lots of ribbons and trims, glass beads, metal beads, tulle, real bird feathers, a vintage miniature nest and bird, even a stick.. a little jute fringe trim on the sides, and hopefully lots of things Jeanie will have fun with...